Category: Home improvement

Progress – slow but steady

I hope that you didn’t think I’d forgotten, or that I wasn’t working on the house.  Nothing could be further from the truth!

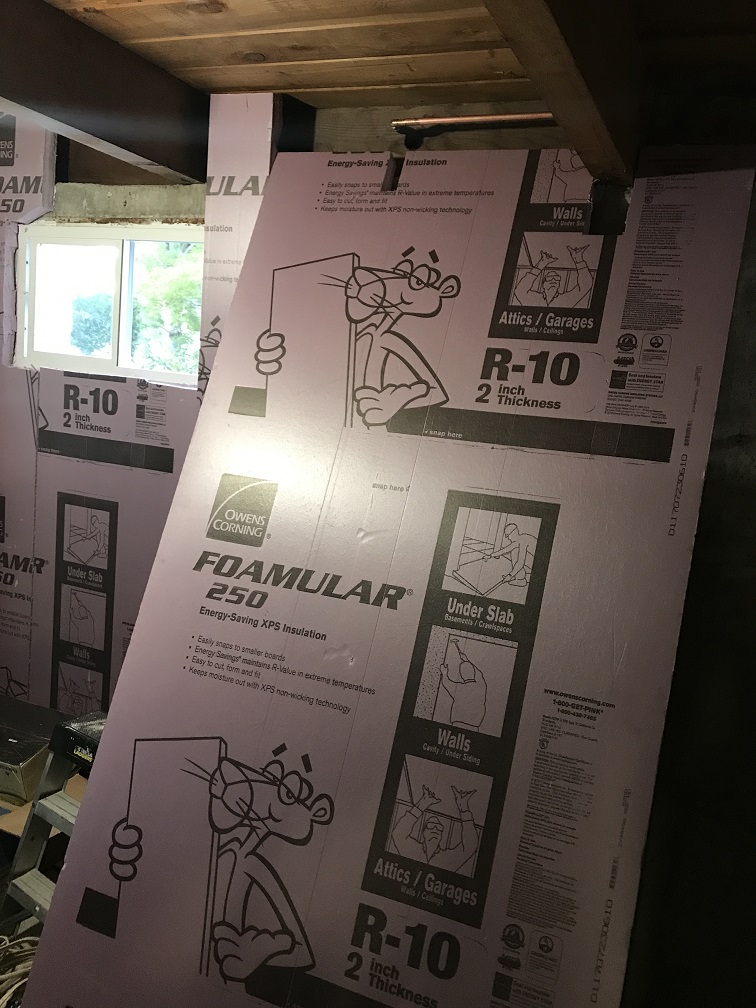
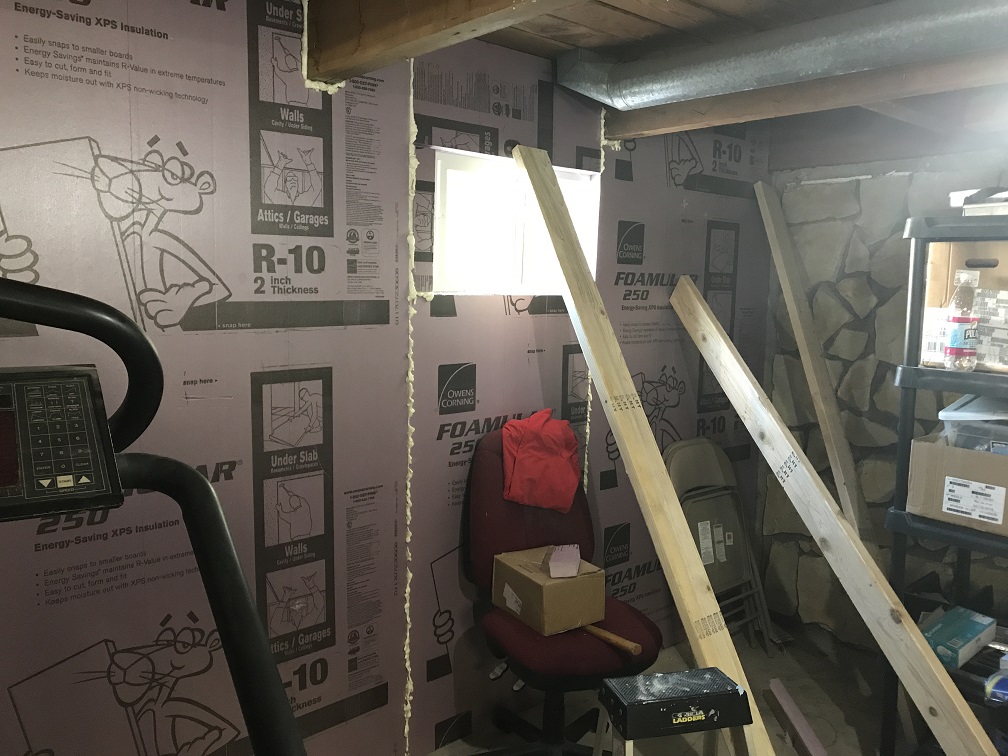
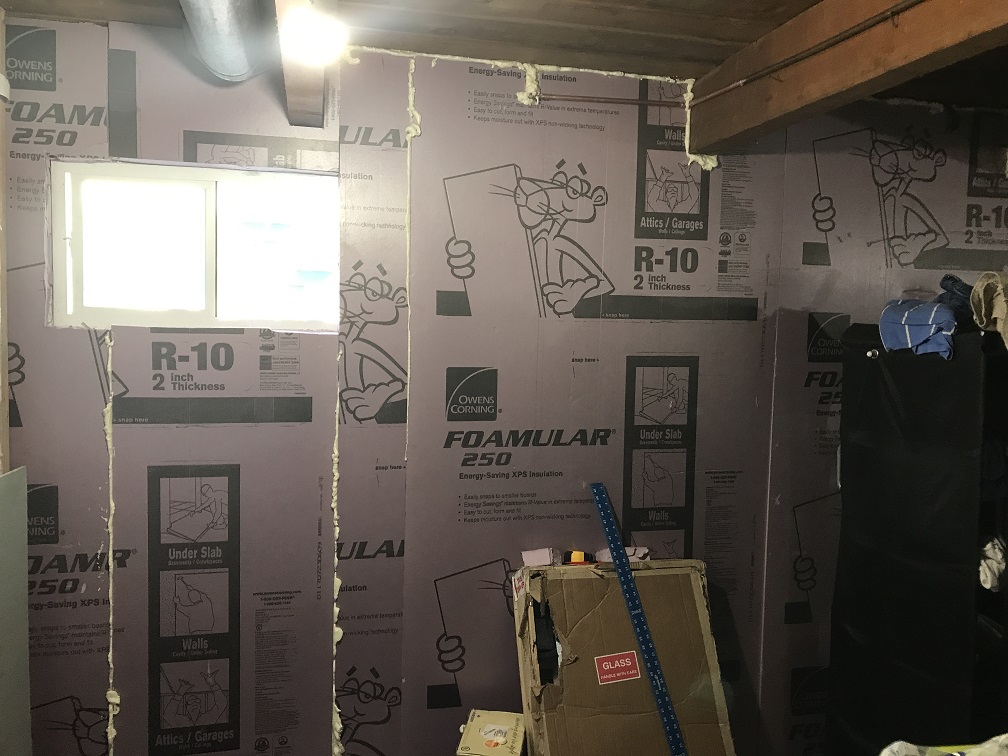
The walls are up on the north side, and I started in on the lighting.

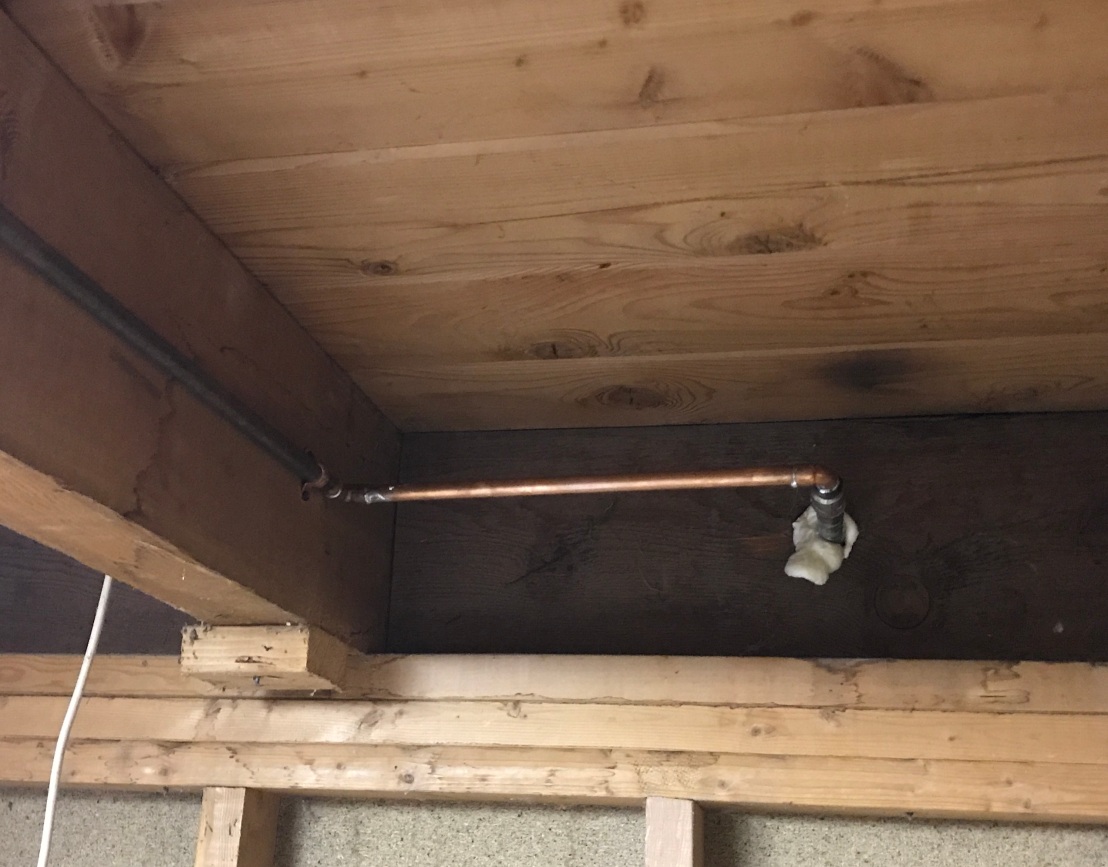
I had definite visions of how I wanted the space to look.  Industrial/rustic was the goal.  So I bent some conduit, and put up some of the lights I had picked out, to see how they would look.  Edison bulbs, brushed nickel, exposed beams and flooring.

I liked it, but pretty much everyone else who saw it was of the opinion that it really didn’t work for the space.  One such opinion I can dismiss.  Maybe even two.  Beyond that, it’s time to reconsider.

It’s one of those deals where, if it’s just going to be my space, and I don’t care what anyone else thinks, then I could continue with this look.  Exposed ceilings, exposed ducts, exposed plumbing.  However, if I should care about the opinions of others – for instance, should I ever sell the house – then choosing a decor that appeals only to me is short-sighted.

Honestly, I just want to get everything finished.

And now I can put my walls back up

First, 2 inches of rigid foam insulation, stuck to the concrete walls.  This provides a vapor barrier, to keep any moisture that makes it’s way through the concrete from getting to the fiberglass insulation, causing mold, etc.

IMG_0352

This goes up with an adhesive that you apply with a caulk gun.  One tube per sheet.  Of course, it needs time to dry, so you have too do something to keep the insulation in place while the adhesive dries.

IMG_0353

Repeat until you run out of wall.

IMG_0355

IMG_0358

Once the adhesive has set, use some “Great Stuff” expanding foam to seal any cracks between the foam panels.

IMG_0354

Then cut off any excess expanding foam, and seal all of the joints with tape.

IMG_0357

Finally, begin framing out the walls.  These will have more insulation, then will be covered with sheetrock.

IMG_0360

Third time’s a charm

Like most of the other things in this house, the water lines for the hoses were done in a minimalist style.  And by minimalist, I really mean “the bare minimum to get the job done with delusions of adequacy.”

Across the 30′ width of the house, the pipes were attached to the hose spigots, then one support on each side of the center wall, and there was a tee to the water line for the kitchen.  Looks a little something like this.

IMG_0347

Not only do I plan to put lights between some of the beams, I also don’t want to worry about trying to frame and sheetrock around a pipe in the middle of a wall.  Plus, it just offends my sense of how things should be done.

I relocated the pipe back to one of the beams, and put clips up roughly every four feet to hold it in place.  Of course, there were a few complications.  Like the fact that this spigot isn’t actually attached to anything except the pipe.IMG_0349

Out came the drill, and some masonry screws, and the spigot was permanently attached to the wall.

I rerouted the pipe, added some connections, and voila:

IMG_0364

OK, not quite.

You see, there’s an art to plumbing.  As in, melting metal and using it to fill in the gaps where two pipes meet so that the water stays on the correct side of the pipe.

I take up a torch about once every five years, and relearn that art in the most painful manner possible.

When I turned the water back on, two leaks.  OK, water off, drain lines again, replace the leaky bits.  Turn the water back on.

Great, just one leak.  Notes to self:

  • Once a pipe is in place, don’t turn it
  • Wait for the solder to solidify before putting pressure on a joint – that cracking noise is a bad thing

It took three tries to get the pipe to convey water from point A to point B without spraying it all over the basement.  But it’s done.


Beast of burden

So, my shopping list for the Home Depot included

  • 11 sheets of 2″ rigid foam insulation, 4′ x 8′
  • 21 2″ x 4″
  • 8 2″ x 6″
  • 1 10′ length of 1/2″ copper pipe

Of course, it all went in or on the Scion.

IMG_0345

Home Depot guys offered to help me load.  I told them they couldn’t laugh at what I was putting all this stuff in.

Seriously, each of the foam sheets is under 10 lbs, so the weight on the roof rack was reasonable, plus three tension straps holding everything down.

All of the boards went on the passenger seat.  And yes, I made it home safely, thanks very much.IMG_0346

If someone wants to buy me a truck, I’ve got my heart set on an F-150.  Until then, I’ll keep getting by with what I have.